
To install patio pavers , mark the layout, dig out about 9½ inches of soil, compact a 6-inch crushed-stone base, screed 1 inch of bedding sand, set the pavers tight in your pattern, cut and edge the perimeter, and sweep polymeric sand into the joints. Pitch the surface 1/4 inch per foot away from your house so water leaves. Every step matters, but the base matters most.
Henderson yards make that base harder than the textbook version. Hard caliche layers resist shovels, summer heat bakes the sand bed, and a monsoon downpour finds every low spot. Pavers rarely fail on top. They fail underneath, as sunken corners, puddles by the house, and weeds in the joints.
This guide covers what to settle first, then four steps to lay a paver patio, with material quantities for a 12x12 and a 20x20 patio. We are JR's Lawn Maintenance, a Henderson contractor that builds paver patios across the valley, so you will also see where hiring a pro makes sense.
What to settle before you install patio pavers
Decide three things before you buy a single paver: whether you will dig it yourself, what drives the price, and which rules apply to your yard.
DIY or hire a licensed installer
A patio up to about 150 square feet on level ground is a realistic weekend DIY project with a rented plate compactor. Past that, the digging and hauling take over. A 12x12 patio sends about 4 cubic yards of soil to the dump, and a 20x20 sends nearly 12. If you hit caliche, hand tools stop being practical.
Your dig volume, not the pavers, decides whether this is a DIY job.
If you hire, verify the Nevada contractor license with the Nevada State Contractors Board and ask for proof of insurance. JR's Lawn Maintenance holds Nevada C10 license #0091849, is bonded and insured, and gives free on-site estimates. We do not draw landscape designs, so bring a sketch with dimensions.
What drives the cost
Installers price a paver patio per square foot , and the bid moves with a handful of factors:
- Excavation difficulty: caliche, equipment access and soil haul-away
- Base depth and the amount of crushed stone
- Paver material (concrete, travertine, porcelain) and pattern complexity
- Edge restraint and removal of existing grass
- Drainage or slope corrections
Ask for an itemized bid that states base depth in inches, so you compare like with like. Poured concrete usually costs less up front, but pavers let you replace a single unit and avoid slab cracking.
Call 811 and check your HOA
Call 811 before any digging so buried utility lines get marked. Then check your HOA rules, because many planned communities want approval for hardscape changes. Plan the slope so water runs away from the foundation, not toward it.
Step 1. Mark the layout and excavate
Stake the outline, set the slope with string, and dig to a depth equal to base plus sand plus paver thickness. That is about 9½ inches for a 6-inch base, 1 inch of sand and 2⅜-inch pavers.
Set the size and slope
Mark the outline with stakes and string or marking paint, and size it so you use whole pavers wherever you can. Fewer cuts means less waste and a cleaner edge. Remove any lawn inside the outline first. We do grass removal ahead of hardscape work if the area is large.
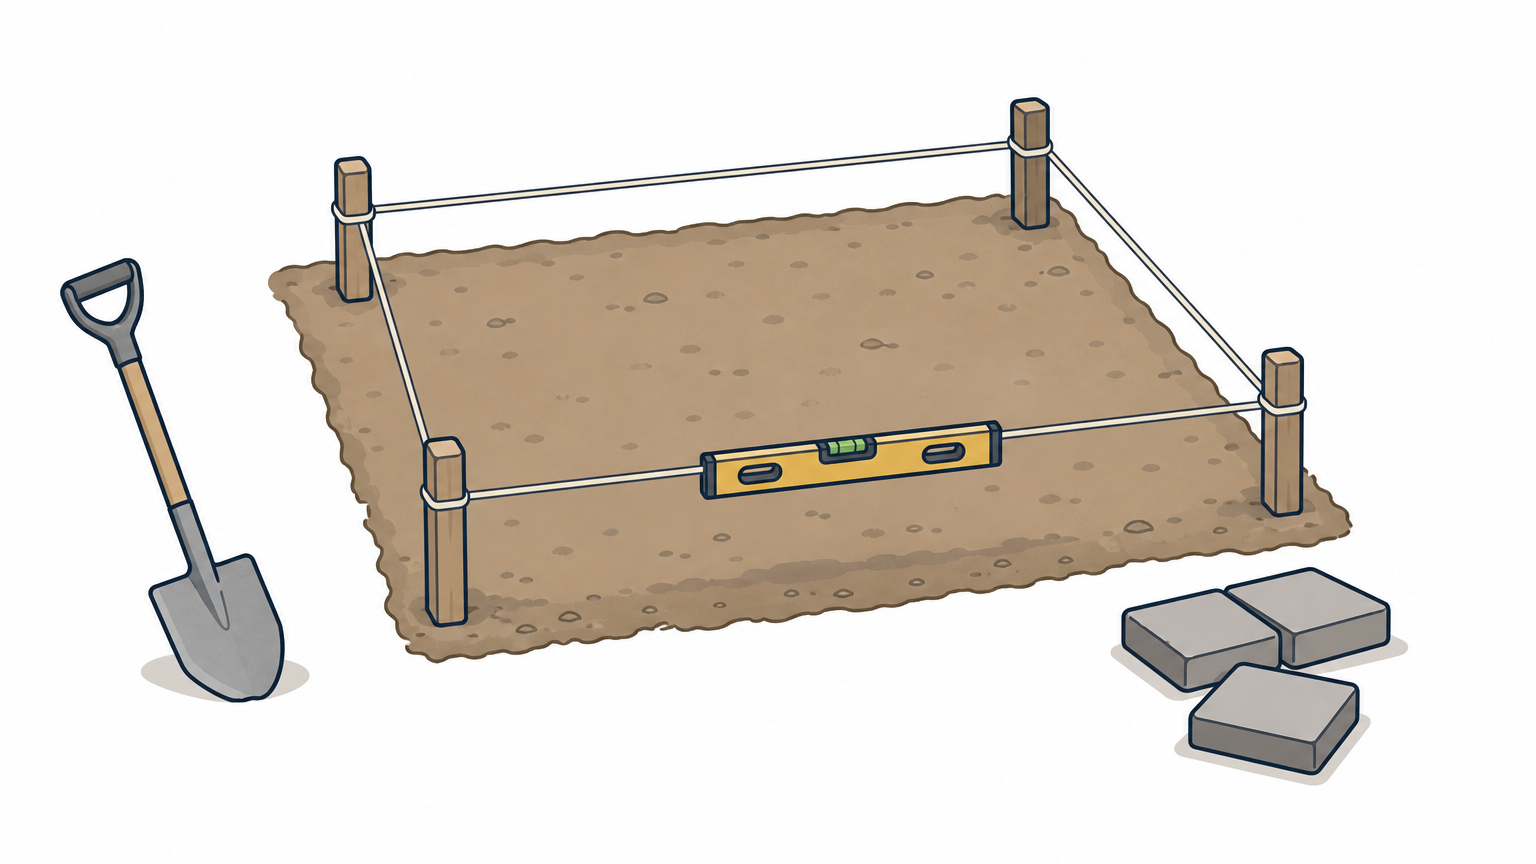
Then set the slope. Run a string from the house side to the far side and drop it 1/4 inch per foot . Over a 12-foot patio, that is a 3-inch drop. Check it with a line level.
Dig to the right depth
Excavate the whole area evenly and extend the dig 6 inches past the outline so the edge restraint sits on compacted base. Here is what the two common sizes need:
| Item | 12x12 patio (144 sq ft) | 20x20 patio (400 sq ft) |
|---|---|---|
| Excavation depth | about 9.5 in | about 9.5 in |
| Soil to remove | about 4.2 cu yd | about 11.7 cu yd |
| Crushed-stone base, 6 in compacted, plus 15% | about 3.1 cu yd | about 8.5 cu yd |
| Bedding sand, 1 in, rounded up | about 0.5 cu yd | about 1.3 cu yd |
| Pavers with 10% extra for cuts | about 159 sq ft | about 440 sq ft |
These figures cover the patio footprint only. Add the extra 6 inches around the edge if you dig it.
Dig to the final depth once, and make the bottom of the hole as flat and firm as the finished surface.
Step 2. Build and compact the base
The base is a layer of compacted crushed stone, usually 4 to 6 inches thick. Use 6 inches in the valley's clay-heavy or poorly draining soil. It is what you put down before laying pavers, and it carries the load.
Choose and spread the base
Tamp the bare soil first. If the soil is soft or clayey, lay geotextile fabric over it so stone does not mix into the dirt. Then spread a crushed, angular aggregate with fines, often sold as road base. Ask your supplier for the product meant for paver bases. Round pea gravel never locks together.
Compact in lifts
Never compact 6 inches in one pass. Work in thin layers:
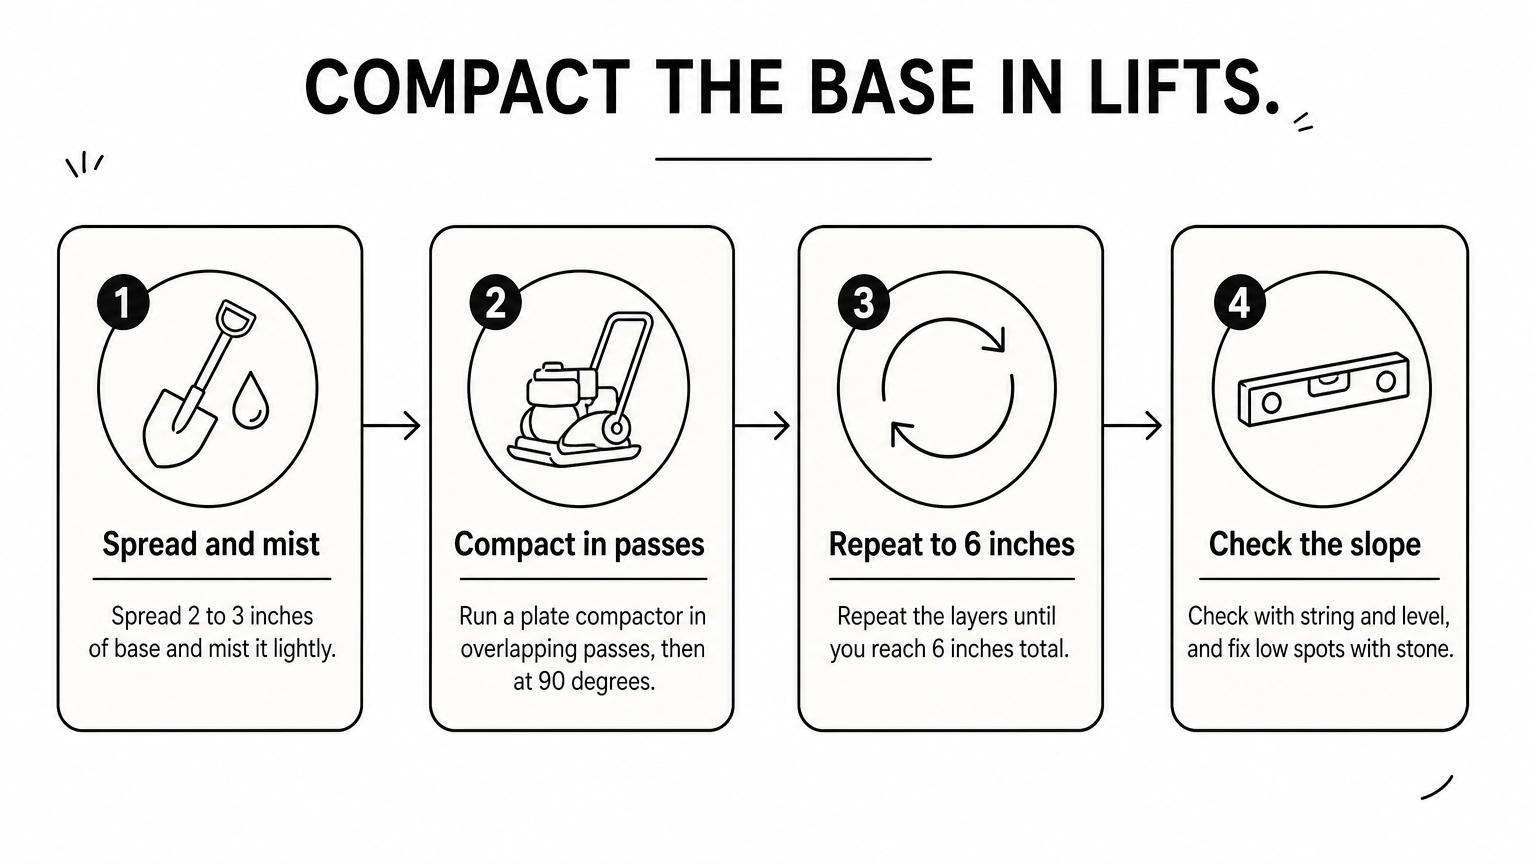
- Spread 2 to 3 inches of base and mist it lightly so the fines bind.
- Run a plate compactor over it in overlapping passes, then again at 90 degrees.
- Repeat until you reach 6 inches total.
- Check the slope with your string and level, and fix low spots with more stone, not sand.
Build the slope into the base , not the sand layer. Sand follows the base, so it should stay a uniform 1 inch.
Compact in thin lifts, because a loose base is the main reason patios sink.
Step 3. Screed the sand and lay the pavers
Spread 1 inch of coarse bedding sand, screed it flat, and set each paver straight down on it. Do not slide pavers into place.
Screed 1 inch of bedding sand
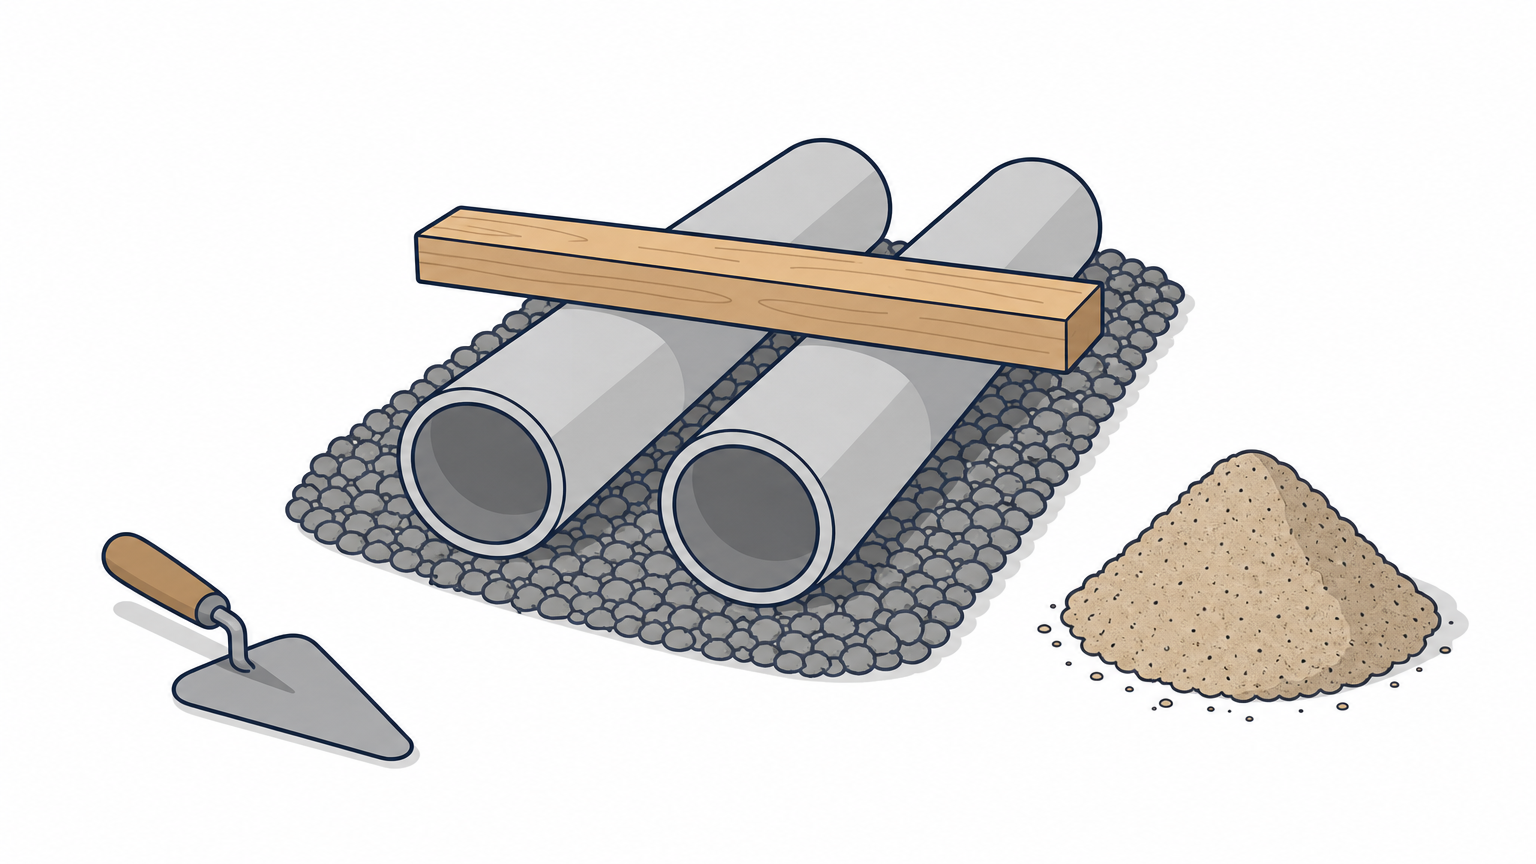
Lay two 1-inch pipes on the base as guides and fill between them with coarse concrete sand . Do not use play sand or stone dust. Drag a straight 2x4 across the pipes, pull the pipes out, and fill the gaps with a trowel. Screed only what you will cover that day, and never walk on the screeded sand .
Lay pavers in your pattern
Start at a square corner, usually against the house or a straight edge, and follow a string line. Set each paver down vertically, hand-tight against its neighbor , and keep joints about 1/16 to 1/8 inch. Kneel on laid pavers or plywood as you work forward.
Check the string every few rows, because small errors compound. Natural stone and travertine vary in thickness, so follow the manufacturer's laying instructions. Porcelain pavers often have their own bedding and joint requirements. In summer, work in the morning and choose lighter colors, which stay cooler underfoot.
Set pavers straight down and check your lines every few rows, because a crooked start only gets worse.
Step 4. Cut, edge and lock in the joints
Cut the perimeter pavers, install edge restraint, compact the surface, then sweep in polymeric sand. This locks the field so the patio stays tight.
Cut and restrain the edges
Cut with a wet saw or an angle grinder with a diamond blade, and wear eye, hearing and dust protection, since cutting concrete throws silica dust. Avoid slivers: keep each cut piece at least a third of a full paver. Then install plastic or aluminum edge restraint along the outside and spike it into the base about every 12 inches.
Sweep in polymeric sand
Follow this order once the edges are set:
- Run the plate compactor, with a rubber pad, over the pavers to seat them.
- Sweep polymeric sand into dry joints until they are full.
- Compact again and top up the joints.
- Blow every grain off the paver faces , because leftover sand leaves a haze.
- Mist lightly as the bag directs, and keep the patio dry for 24 hours.
Check the forecast first. Rain on fresh polymeric sand washes it out and stains the surface.
Clean the paver faces before you mist, or the haze will be there for good.
Get your patio built right
A solid paver patio comes down to a 9½-inch dig, a 6-inch compacted base, 1 inch of screeded sand, tight joints and edges that cannot spread. Skip none of those, and give the base the most time.
If the dig volume or caliche is more than you want to take on, or you would rather have it done in a few days, request a free on-site estimate from JR's Lawn Maintenance. We install paver patios across Henderson, Summerlin and Las Vegas. Bring your plan, and note that estimates are valid for 7 days.