

Sprinkler Irrigation System Installation: A 4-Step Guide
The simplest way to handle sprinkler irrigation system installation in Henderson is to do four things in order. Map your yard into watering zones, hire a licensed contractor who works in the valley every week, compare at least three written quotes from on-site visits, and sign off only after a full walkthrough of the finished system. Skip a step and you pay for it later in dead spots, high water bills, or repair calls.
Most homeowners start by searching for a price, and that is where things go wrong. A number quoted over the phone or from a photo is a guess, because the real cost depends on your zones, your soil, and your water supply. Southern Nevada's heat, hard caliche soil, and seasonal watering rules also punish a badly designed system much faster than a mild climate would.
This guide comes from JR's Lawn Maintenance, a Henderson landscape contractor with more than 20 years of desert experience. You will learn what an installation includes, how to plan your layout, how to vet and compare installers, and what to check on the day the crew finishes.
What a sprinkler system installation includes
An installation covers everything between your water supply and your plants: trenches, pipe, valves, a backflow preventer, a controller, and the heads or drip lines that deliver the water. Knowing each part makes a quote much easier to read later.
Sprinkler system vs. irrigation system
"Irrigation system" is the umbrella term, and a sprinkler system is one type of it. Sprinklers spray water over the surface through spray heads or rotors, which suits turf. Drip irrigation sends water through tubing and emitters straight to the roots, which suits shrubs, trees, and planter beds. Most Henderson yards need both, so irrigation sprinkler system installation and drip work usually go into one project.
A sprinkler system is one kind of irrigation, and most desert yards need sprinklers for turf and drip for everything else.
The parts you are paying for
Every system, whatever the size, is built from the same components:
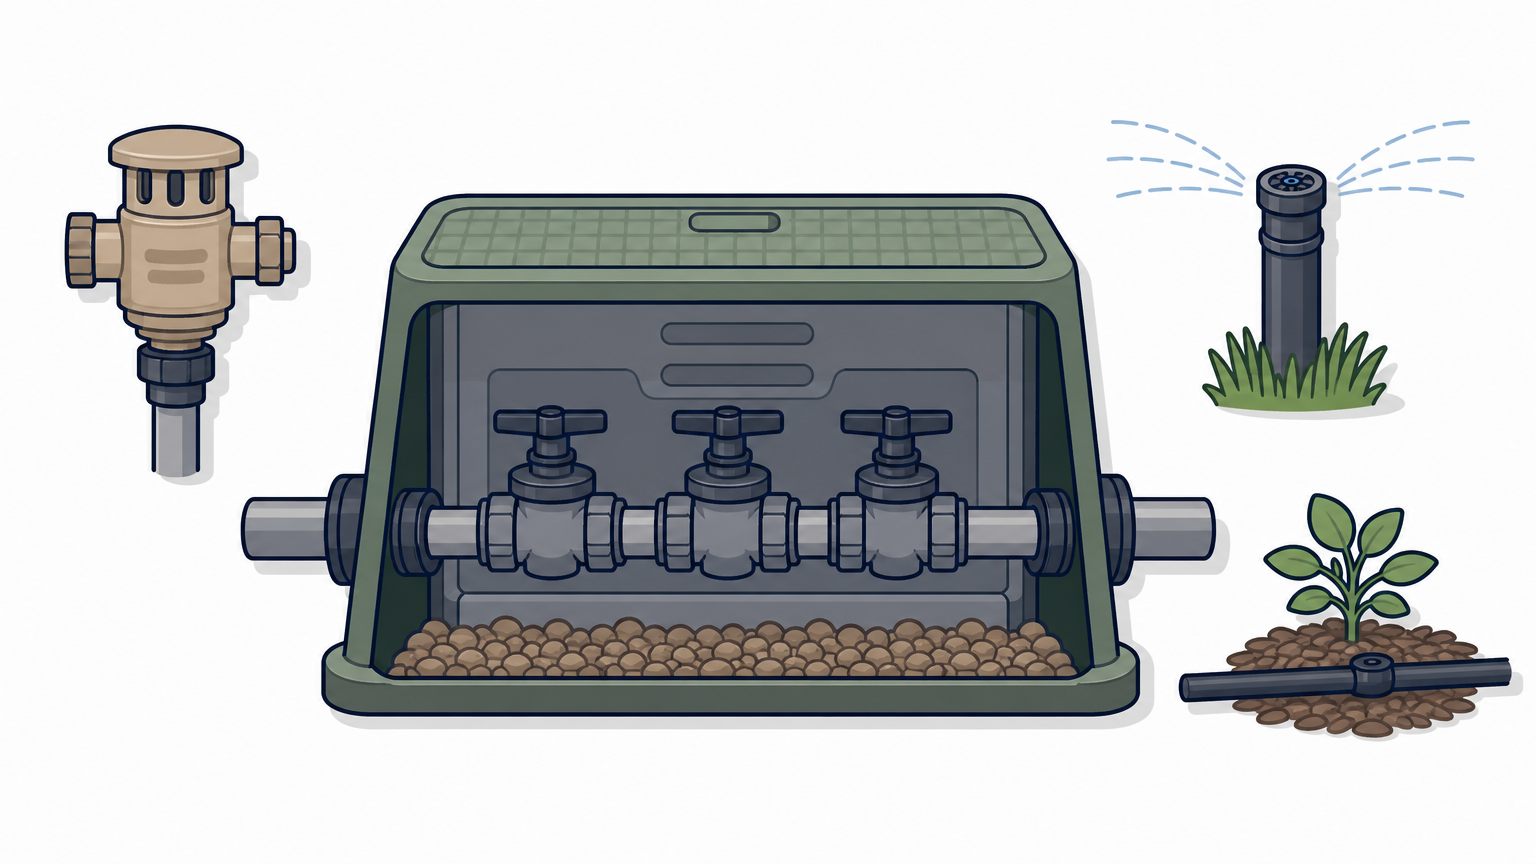
- Trenching: channels dug for pipe, often slowed by caliche, the hard mineral layer common in the valley.
- Pipe: a mainline from your supply and lateral lines out to each zone.
- Valves: one per zone, grouped in an underground valve box.
- Backflow preventer: protects your drinking water from contamination. A pressure vacuum breaker (PVB) sits above ground, higher than the highest head.
- Controller: the timer that runs each zone on a schedule.
- Heads and emitters: spray heads, rotors, drippers, and drip tubing.
JR's installation work covers precise trench digging, placement of drippers, tubing, and timers, and the installation of drip, grass, and PVB valves.
Step 1. Map your yard and pick your zones
Start by drawing your yard and grouping plants by water need and sun exposure . Each group becomes a zone, and each zone gets its own valve. This map is what every installer will price from.
Draw the zones
Use graph paper or a phone sketch. It does not need to be pretty, only accurate.
- Sketch the house, driveway, walkways, and property lines.
- Mark turf, shrub beds, trees, and planters.
- Shade the areas that get full afternoon sun.
- Note the water meter, the main shutoff, and where the controller will mount, usually a garage wall.
A worked example: a typical front yard
Say you have a 600 sq ft turf strip, two shrub beds, and three trees. That yard needs three zones : one for the turf, one drip zone for the beds, and one drip zone for the trees. Turf and shrubs never share a zone, because turf needs short, frequent cycles while drip plants need longer, less frequent ones.
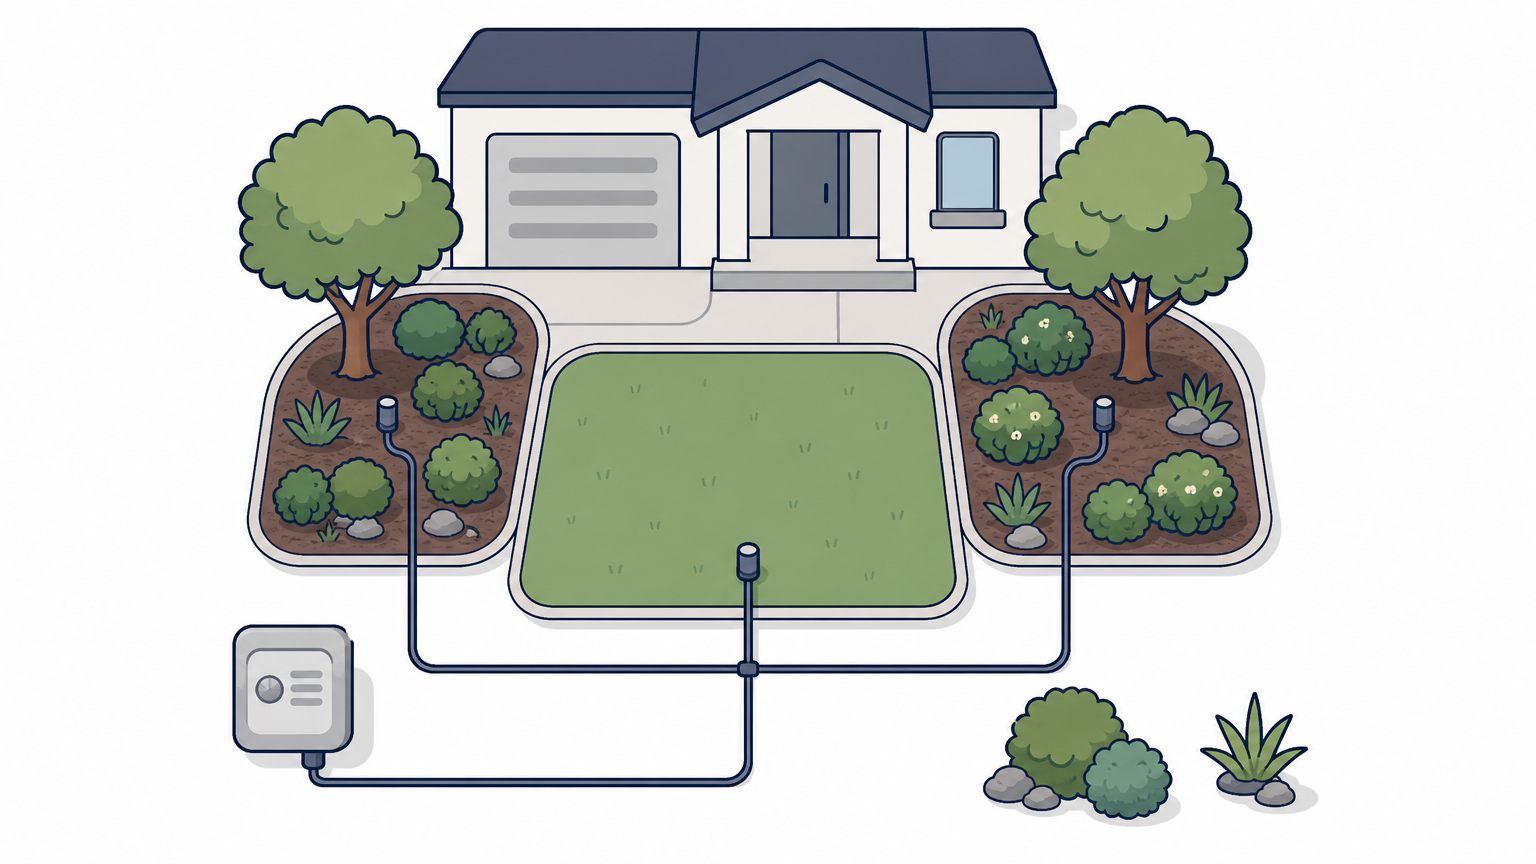
| Zone | What it waters | Delivery |
|---|---|---|
| 1 | 600 sq ft turf strip | Spray heads or rotors |
| 2 | Two shrub beds | Drip tubing and emitters |
| 3 | Three trees | Drip, with emitters at each tree |
Bring your plan to the table
JR's does not offer landscape design or layout, so you bring the plan for the yard. If you want to replace part of your lawn with rock, turf, or planted areas, decide that first. Converting grass after the irrigation goes in means trenching twice, and our Water Smart Conversions service is built to pair with the watering changes.
Settle your layout before anyone digs, because changing the plan after trenching means paying for the work twice.
Step 2. Vet installers before you ask for prices
Check an installer's license, insurance, and written warranty before you ask about money. A low price from an unlicensed crew costs more once something fails and nobody is accountable.
Check license, insurance, and bid limit
Ask for the Nevada contractor license number and look it up with the Nevada State Contractors Board. Confirm the classification covers irrigation work, then ask for proof of insurance and bonding. Also ask about the bid limit , which caps the size of job a licensed contractor may take. JR's holds Nevada C10 license #0091849 with a $45,000 bid limit, and every installer you consider should tell you theirs without hesitation.
Ask these questions
A good installer answers the following clearly and in writing:
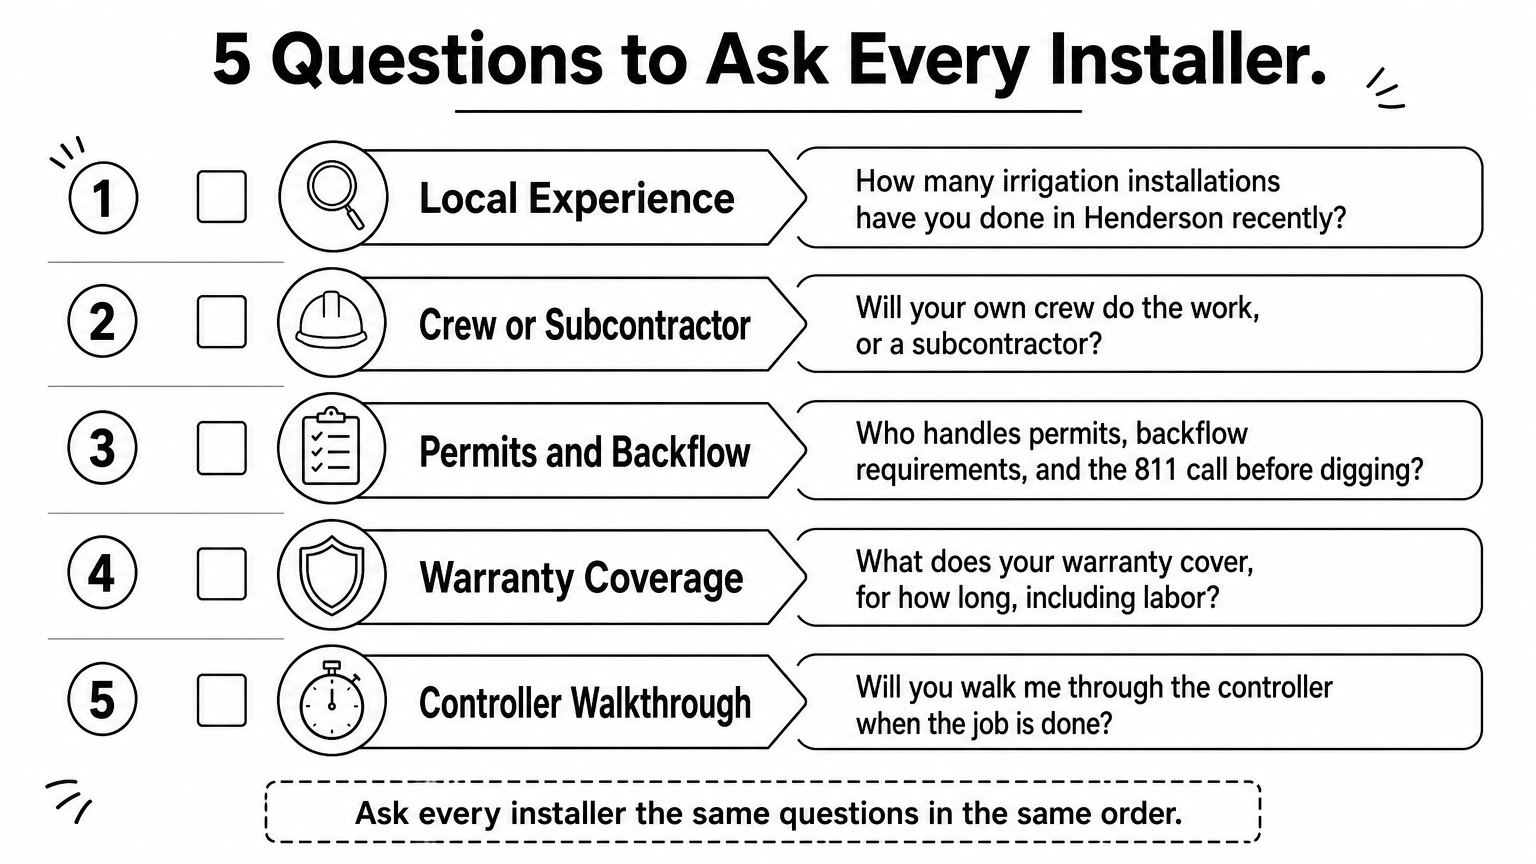
- How many irrigation installations have you done in Henderson recently?
- Will your own crew do the work, or a subcontractor?
- Who handles permits, backflow requirements, and the 811 call before digging?
- What is covered by your warranty, for how long, and does it include labor? (JR's gives a 1-year limited warranty on parts and labor for qualifying irrigation installations.)
- Will you walk me through the controller when the job is done?
Ask every installer the same questions in the same order, and the weak ones will sort themselves out.
Step 3. Compare quotes and understand the cost
Get at least three written quotes, each based on an on-site visit , and judge them on what is included, not on the bottom line alone. Any figure given without seeing your yard is a guess.
What moves the price
These factors swing the total more than anything else:
| Cost driver | Why it matters |
|---|---|
| Number of zones | Each zone needs a valve, wiring, and its own pipe run |
| Trench length and soil | Caliche and long runs add labor hours |
| Head and emitter count | More heads and drip lines mean more parts and time |
| Backflow device | Required to protect drinking water, and a common omission in cheap quotes |
| Controller type | A basic timer costs less than a smart weather-based controller |
| Restoration | Patching turf, rock, or pavers after trenching is real work |
Compare quotes line by line
Give every installer the same plan, then check that each quote lists the number of zones, head types and counts, pipe type, valves, backflow device, controller model, restoration, start date, duration, warranty, and expiration date . The cheapest quote often leaves out the backflow preventer or the cleanup. JR's estimates are free, in person, never priced from photos, and valid for 7 days, so you have time to compare without pressure.
A quote that leaves out the backflow device or restoration is not cheaper, only incomplete.
Step 4. Oversee the install and sign off
On installation days, watch the sequence and test every zone before you pay . Duration ranges from a single day to several weeks, depending on size, complexity, and terrain, so get a start date and expected finish in writing.
What happens on install days
A proper installation follows this order:
- Underground utilities are marked and the trench lines are laid out.
- Trenches are dug, and caliche is broken up where needed.
- Mainline, valves, and lateral pipe go in.
- The system ties into your supply, and the backflow preventer is installed.
- Lines are flushed before heads are attached, so debris does not clog them.
- The controller is wired, the system is tested, and trenches are backfilled.
Your walkthrough checklist
Run each zone manually with the installer present and check the following:
- Spray reaches the next head, with no dry gaps between them.
- Water stays off walls, windows, and sidewalks.
- Heads do not produce fog, which signals excess pressure.
- Drip emitters sit at the plants they serve.
- Valve box lids open easily, and the controller labels match the zones.
- You have the warranty and an itemized invoice in writing.
Finally, set the schedule for the season and ask how to adjust it. If you would rather hand that off, JR's offers irrigation timer programming for a $45 service fee.
Do not pay the final invoice until you have watched every zone run and seen the warranty in writing.
Your next move
A good sprinkler irrigation system installation comes down to four habits: map your zones, verify the contractor, compare complete written quotes, and test the finished system yourself. Do those and you get even coverage, lower water bills, and a warranty that actually means something in Henderson's heat.
If you want a local crew to look at your yard in person, request a free on-site estimate from JR's Lawn Maintenance. Bring your yard plan, and we will price the work after seeing the property, with no contract and no obligation.